The other day I walked into my mom friend’s kitchen and found the top of a pineapple sitting in a jar of water. I thought it was odd so I immediately quizzed her about it and she politely told little-ol-woefully-uninformed-me that if you plant the top of a pineapple, it will sprout. What?!
I was still digesting this info. a few days later when my contributor Kaley (a wonderfully creative mom in her own right) emailed to ask if she could do her next post on growing stuff from food scraps. Clearly this was a thing – a very cool thing that kids are sure to love as it turns out. Read on for all the details.
Question of the Day
What do you do with your your fruit and vegetable scraps? Do you use any of them to grow plants right now? Or are you more of a compost it and forget it kind of family?
Do you look at all of the food scraps going into the garbage or compost and wish you could do something with them? I always do.
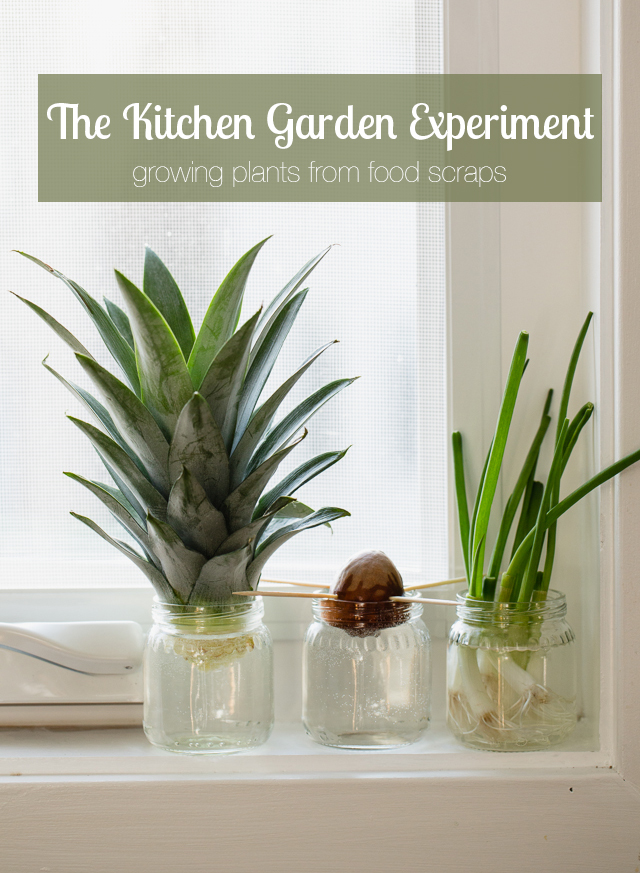
And after reading that a lot of fruit and vegetable scraps will grow again, I went from throwing them in the compost to turning them into a mini science experiment in our kitchen. It is so easy, can be done with things that you already have (and were going to be thrown out anyway), and it’s super fun for the kids.
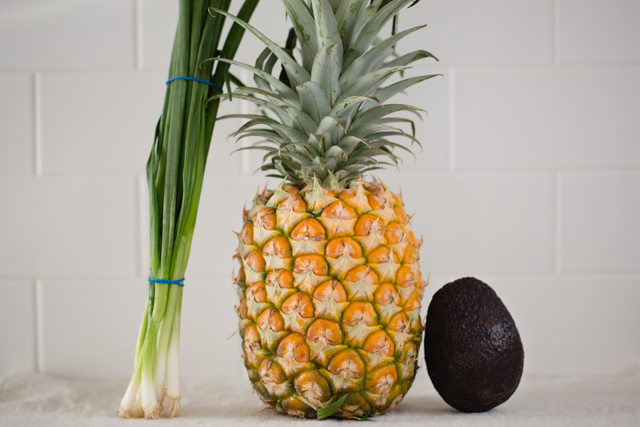
I almost always have pineapples, green onions, and avocados on hand, so I started with those three. For containers, I used empty baby food jars, but you can use any little container you have in the kitchen. Even a small drinking glass would work fine.
To keep my daughter engaged and excited about the experiment, I made a little chart for her to record the changes of our plants. We fill in our chart every few days, using drawings and sometimes a few words. You can alter this depending on the age of your child.
They can dictate to you, and you can write, you could take quick pictures on your smart phone, or they can draw what they see. To download your own chart to use in your kitchen experiment, click here.


Directions (using the foods that we used):
For the pineapple: Make sure that the top leaves of your pineapple are nice and green, and don’t look dried out. There are two ways to remove the top of your pineapple. You can hold the crown (leaves) in one hand and the pineapple in the other and twist until the crown pops off, or you can just bang the crown against the edge of the counter until it pops off.
You can imagine which method is more fun for the kids. Peel off the bottom leaves until you have a nub about an inch long, and place it in a jar or glass of water so that just the bottom nub is immersed in the water. Change the water every few days.
Within a month you will start to see roots, and the top will have grown into a nice full plant.

For the green onions: Trim off the bottom (root end) inch of your green onions and place them roots down in a small glass jar filled with water. Change the water every few days.
Within a few days they will start growing back into green onions again. Theses are so easy and quick to grow I can’t believe I haven’t been doing this forever.

For the avocado: Remove the pit and wash it with water. Insert 4 toothpicks into the sides of the pit, then place over a small glass or jar filled with water so that the pit is suspended in the water with the larger side of the pit down.
Change the water each day and keep the water level constant. These take a few weeks to start growing roots, so be patient with them.

The possibilities for this are endless. Use the vegetables and fruits that you use most. I think I am going to try carrots, ginger and potatoes next.
 Want more ideas? You can find growing instructions for a ton of different fruits and vegetables in Don’t Throw It, Grow It.
For More Earth-Friendly Kid Activities, Check Out:
- Plantable Paper Earths
- How to Make an Up-cycled Inventors Box
- Veggie Garden Sensory Bin (with free vegetable marker printables)
- Natural Play Spaces: Children’s Veggie Gardens
- Make Like a Montessori Mama Series: Part 2 – Plant Activities
- Mason Jar Yarn Vases
*Post contains affiliate link
Get Your Free Printable

Subscribe to our newsletter today and get our free printable... No More, "Mom, I'm Bored!"
Latest posts by Kaley (see all)
- 30 Breakfast Ideas for a 1-year-old - October 28
- DIY Father’s Day Banner & Card - May 28
- Making Snowmen… Inside! - February 12