
It’s almost February and that’s got me thinking about, what else, Valentine’s Day. I love that C is finally old enough to get into holidays so I wanted to make something special for him to give to his pals. Since chocolate candy isn’t really appropriate for a bunch of 2 year olds (at least not in my world), I came up with this instead.
Process based art and play has been big around our house lately (as evidenced by Monday’s post) so these shaving cream Valentines were kind of a no-brainer. The mixing colors are lovely to look at and C’s friends will have fun drawing shapes with the included Q-tips. Click through for all the details on how to make your own.

The supplies for this project are pretty basic. You’ll need shaving cream, food coloring, photo frame cards , small reclosable bags, duct tape, Q-tips, and whatever you want to use to decorate the front. I found both the photo frame cards and the bags at my local craft store. The cards have pre-cut photo openings that work perfectly for holding the bags. The windows in my cards were 3 1/8″ x 4 5/8″ and my bags were 4″ x 5″.

I recommend saving the messy parts for last so we started with the message inside. We used stamps but you could do crayons, glitter, or whatever your heart desires.
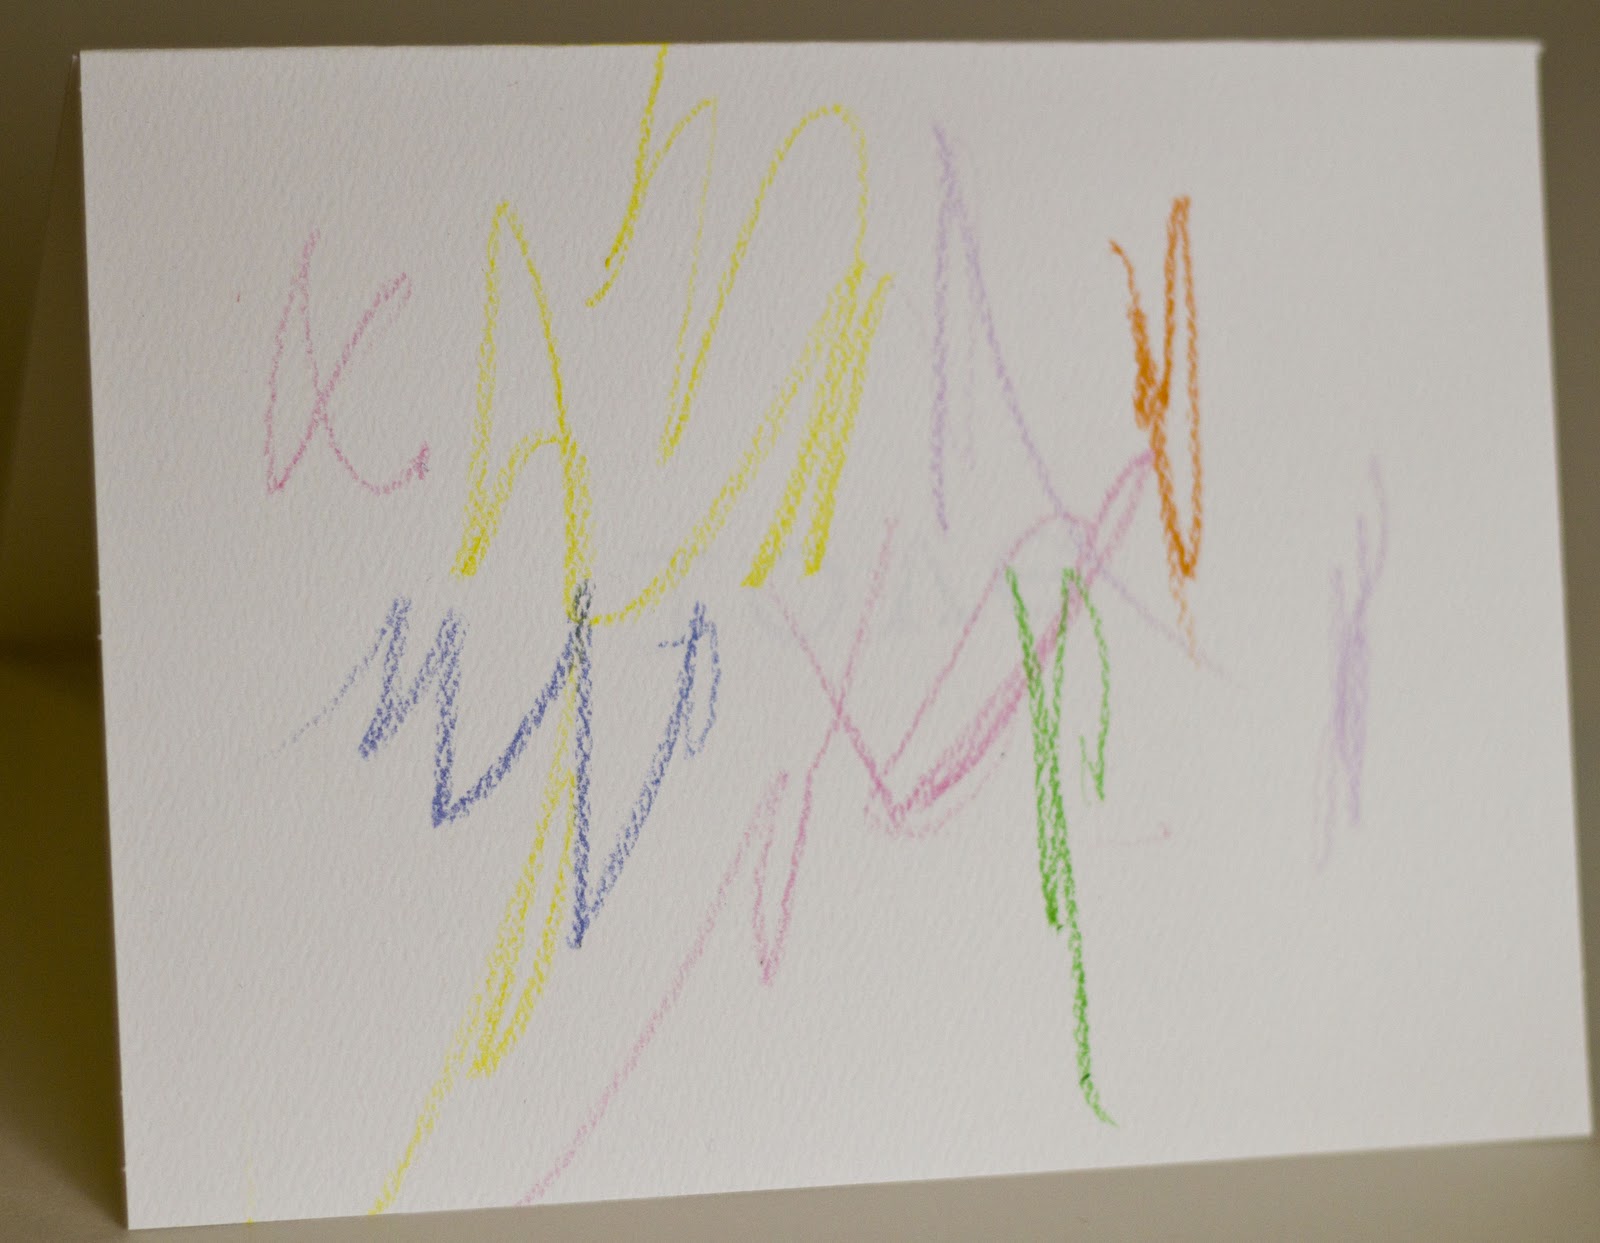
For the cover we tried two approaches. For the first card I asked C to color a picture with crayons.

For the second card I cut out simple hearts from my leftover stocking felt. It looks like I sewed them to the paper but I really just stitched a quick X and glued them in place. I prefer the version C made – no contest.

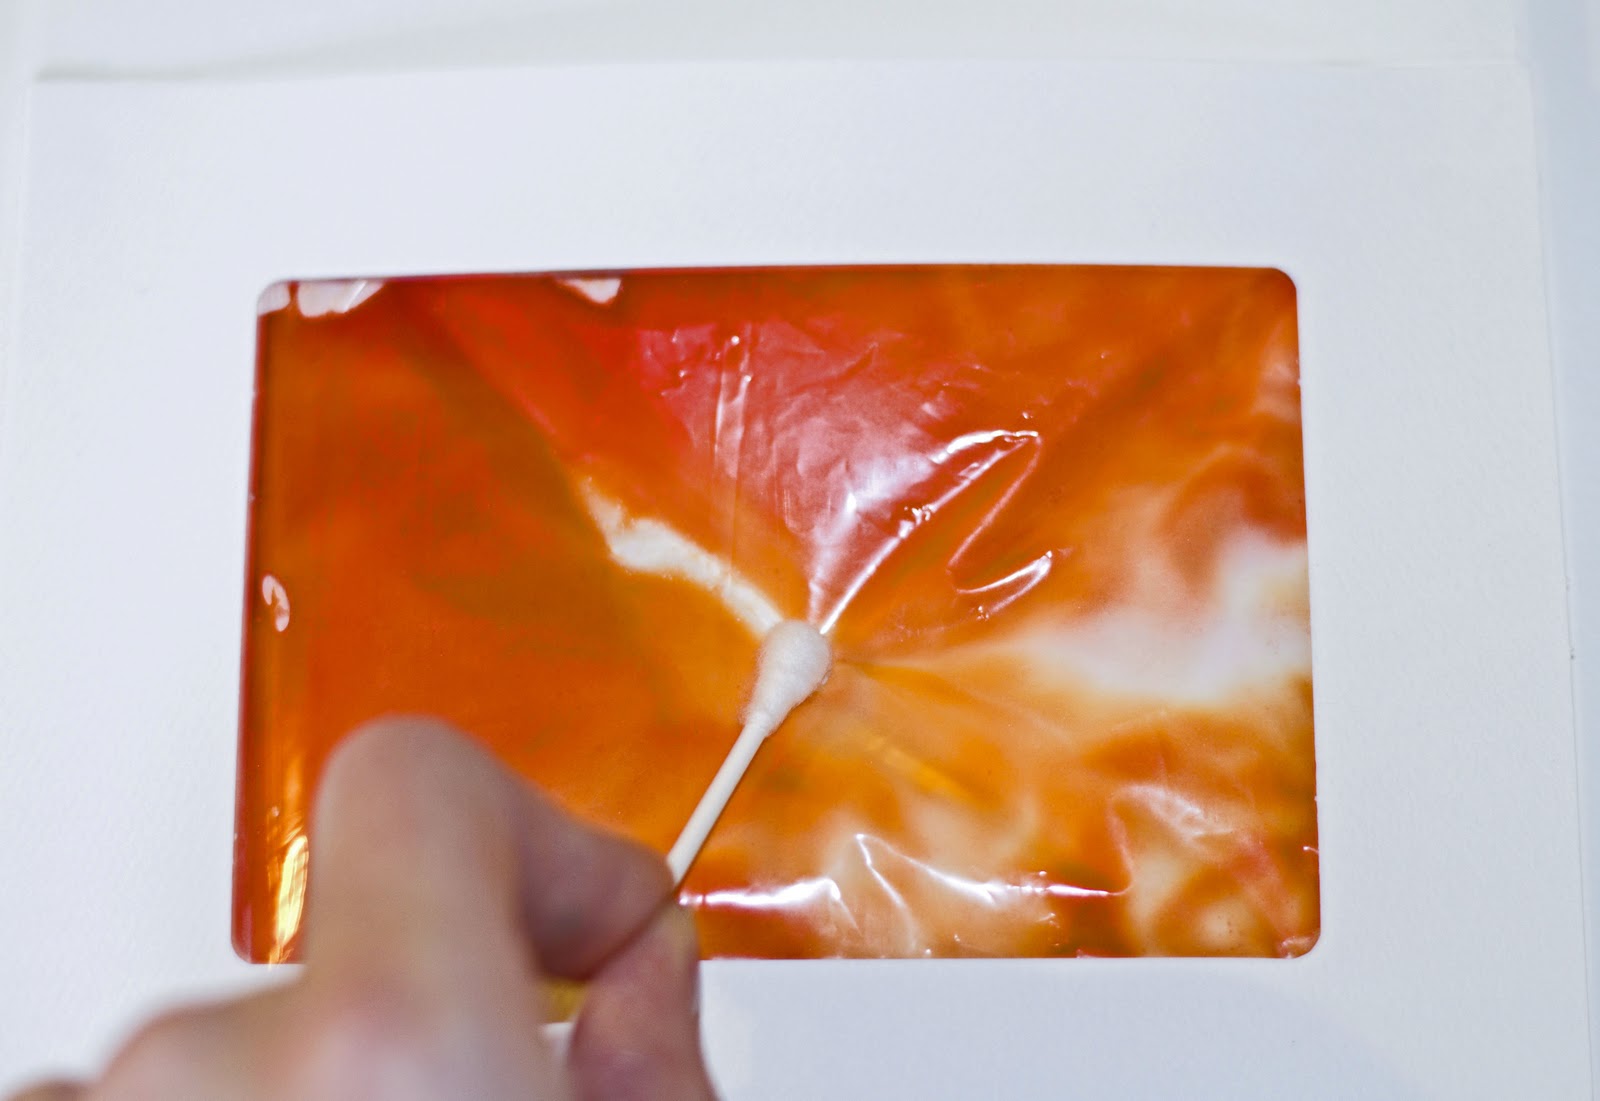
Now onto the fun stuff. Fill one of the bags with a few drops of food coloring and some shaving cream. You’ll need a lot less than you think because you don’t want the bag to be very thick once you push all the air out.

Push the shaving cream down to the bottom and squeeze as much air out as you can before sealing the bag. Then let your kids go crazy smooshing it all around until you get the color effect you’re after. My favorites were the ones with two colors that weren’t completely mixed.

This next step is crucial – duct tape both ends of the bag to prevent spilling. Just lay the tape sticky side up, place the edge of the bag on top, and fold the tape back onto itself. I also taped the end that doesn’t open so the bag would be longer than the window and would stay in place.
The cards I bought were designed to have the window on the cover but I wanted it inside so I just folded it inside out and pressed it between some books. After a little time passed I slipped the shaving cream bag into the opening. Originally I was planning to sew the opening shut once the bag was in (right below the fold) but my bags actually stayed in place pretty well without this step.

Lastly, I threaded some waxed cotton through two small holes to make the Q-tip holder. I realize that Q-tips aren’t the most obvious choice for a Valentine but they are the perfect tool for drawing in the shaving cream. Plus in my former life I was an audiologist – which means in my house Q-tips are for art, NOT for ears.
One thing to note: you’ll want to make these 12 – 24 hours before you give them away. After that point the shaving cream starts to morph and, although it does become sparkly, the whole thing goes a little limp. So that’s it, you’re done and hopefully your kids have as much fun making these as they’ll have giving them out.
Get Your Free Printable

Subscribe to our newsletter today and get our free printable... No More, "Mom, I'm Bored!"