
Looking for an engaging and educational activity that will appeal to a broad range of children? I highly suggest a trip to your neighborhood hardware store.
With just a few simple materials you and the kids can quickly create a classic toy that’s been sparking children’s creativity for over 60 years: the geoboard.
To start, pick up a sheet of peg board (the perforated board that’s often hung on a garage wall and used to store tools) as well as some nuts and bolts.
Peg board typically comes in 2′ x 4′ sheets. We found that this large size worked well for our two young children. It allowed them enough space to work next to each other without a brawl breaking out.
If you don’t have a lot of storage, or a lot of kids, you may want to get your peg board cut down to a more manageable size at the hardware store.
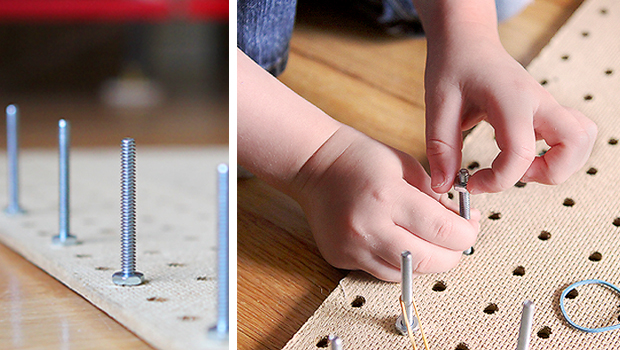
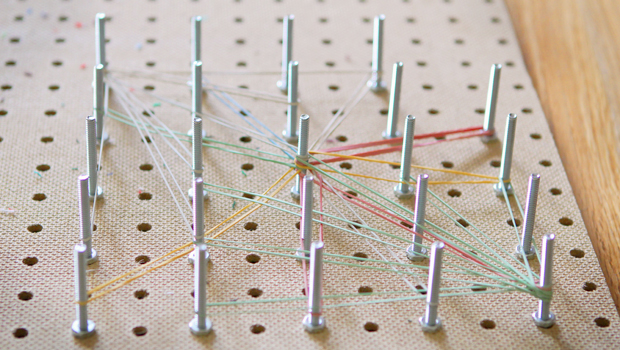
To make your geoboard, simply slide the bolts into the pre-drilled holes in an evenly spaced pattern. We used 2″ long bolts (#10) placed in every third hole.
Don’t forget to get your kids involved in the process of making the board. It will get them excited about playing with their new toy and threading the nuts onto the bolts is fabulous practice for little ones developing fine motor skills.
Of course, nuts can be a chocking hazard for young children so please supervise them during play with the geoboard.
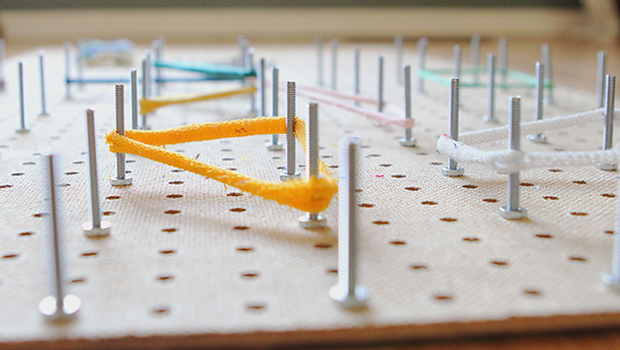
Once your bolts are in, it’s time to start playing. Use rubber bands to create shapes and designs.
We also picked up some soft craft loops (like the kind used to make potholders) from the craft store for our nearly two year old.
We were afraid she might sustain some painful snaps with the rubber bands.
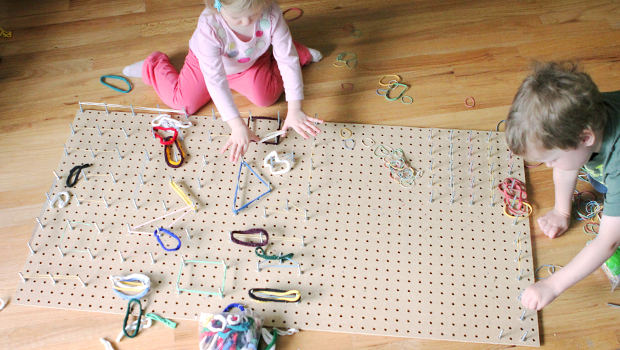
As it turned out, she had no problems with the rubber bands but both kids enjoyed having a variety of materials to play with.
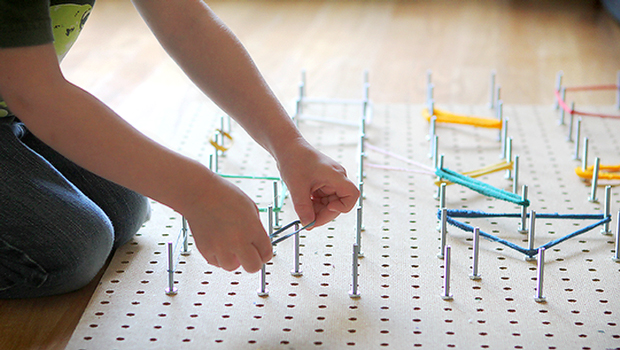
You can see they each claimed their own section of the board.
To add more interest, we spaced the bolts closer together on the three-year-old’s side.
You’ll also notice we didn’t fill up the entire board. Instead, we left some space open for the kids to place bolts in arrangements of their choosing.
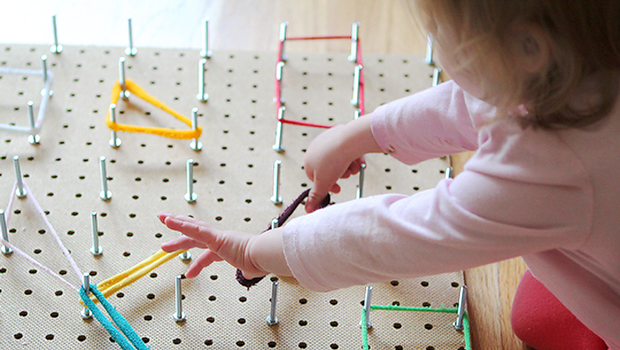
There are so many ways you can play with a geoboard. Start simply by dumping everything out and playing with it all yourself.
Loop multiple rubber bands around the same bolt and radiate them out to different points.
Seeing you play, along with the cool things you make, will encourage your kids to partake in some open-ended creating of their own. If they want more direction, ask them to make specific shapes or even letters.
The geoboard was actually created as a way to explore basic geometric principals so there are lots of ways for older kids to use it as well.
Explain that the length between two bolts is called a “segment” and challenge them to see how many shapes they can create with three, six or nine segments (and so on). This is just the tip of the iceberg, of course, there are many mathematical concepts including perimeter, diameter, and the Pythagorean Theorem that can be explored.
When you’re done playing for the day, store your extra rubberbands and bolts in a ziplock bag and find a place to stash everything away. When not in use, we slide our geoboard under the small space beneath our playroom couch.
*Post contains affiliate link
More from MPMK

Super Soft Jell-O Play Dough Recipe
Get Your Free Printable

Subscribe to our newsletter today and get our free printable... No More, "Mom, I'm Bored!"