
Hey friends. We’re still working furiously to get our home ready to put on the market this week, but I haven’t forgotten about you! Since I didn’t get around to posting about our DIY sandbox until the end of the summer when it first debuted – I thought I’d get ahead of the game this year and post it now. You know, so you could build it and actually enjoy it all summer.
It’s a good project – you should totally do it if you have the space. Young House Love even based their sandbox on our design (she says with her chest puffed out in pride like some kind of psychotic rooster). Here’s the details and LOTS of photos too…
P.S. – Please excuse the mess! You may recall, we’re still recovering from this. Our fence was step 1 and this was step 2.

Measure out where you want to put your sandbox to be sure it fits. (Ours was a six foot square.) Place stakes at the corners to mark where you need to dig.

Dig a hole in each corner for the support beams.

Cut your four sides to size. We used 4 pieces that were 6′ x 1′ each.


Once things are lined up and level, screw it all together.

You’re probably wondering why my husband didn’t just assemble it in the ground. Initially we had planned to put benches on top of the posts so he wanted to ensure they were screwed to the sides at the exact same height (to make everything perfectly square… He’s picky like that). We eventually nixed the benches though, deciding that the underside would be too inviting for spiders.

Use a sledge hammer to make it level and sturdy in the ground.
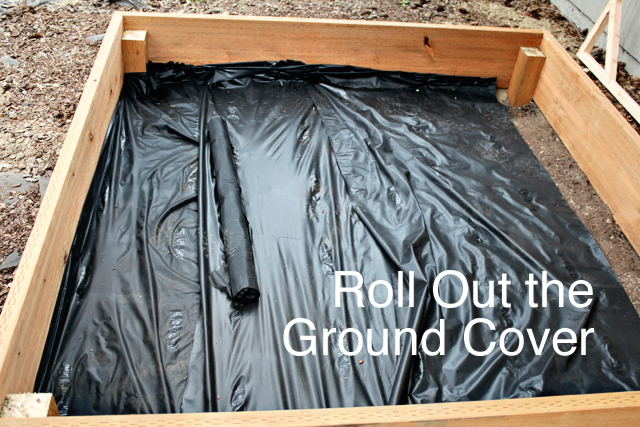

And by “nails”, I mean “staples” – I’m just too lazy to fix it in Photoshop.

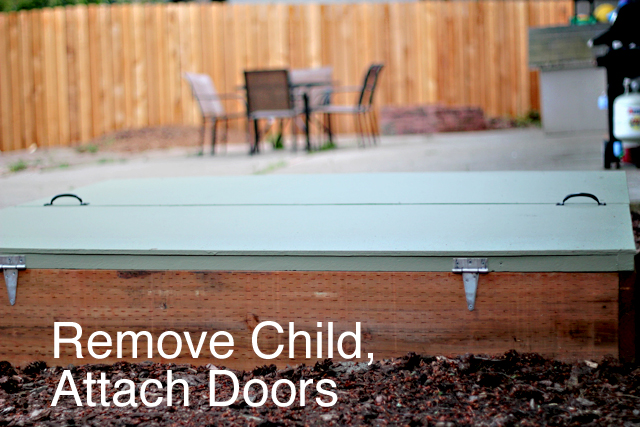
We decided a bi-fold style cover would be easiest to lift. Each side was framed out using 2″ x 2″ pieces and 1/2″ plywood was mounted on top.

A nice earthy green to match all the nature – two coats of primer and two coats of paint.

To C any big amount is “five”, so this is him conveying that we got A LOT of sand.

And he was right… 35 bags at 50 lbs. each, you do the math.


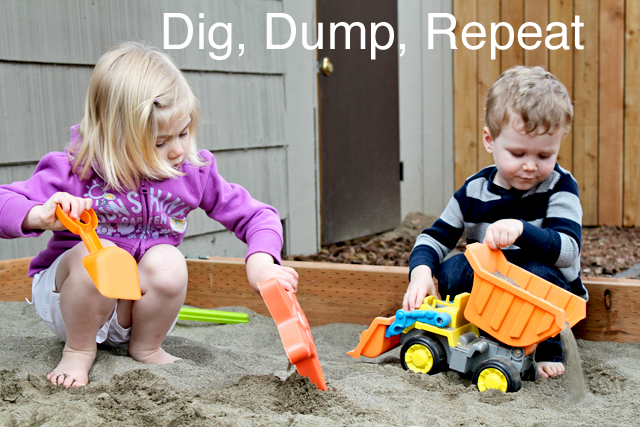
We’ve been enjoying our sandbox for months now and it was one of the best investments we’ve ever made. We thought briefly about buying a swing set instead but you gotta know your kid… ours never tires of playing with trucks.
Similar Stuff: DIY Creativity Center (Toddler-Friendly & Baby-Proof)
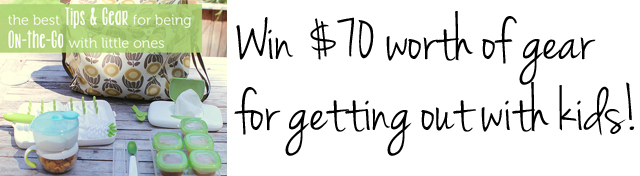
P.S. Don’t forget to get our tips on getting out with the kids this summer and enter our giveaway for over $70 in goodies!
Get Your Free Printable

Subscribe to our newsletter today and get our free printable... No More, "Mom, I'm Bored!"