
With Thanksgiving coming up (here in the US) there are plenty of opportunities to talk about thankfulness with our kids. Here is a fun art project that adds a little more than just whimsy to the Thanksgiving table – the thankful turkey. This little paper turkey can be constructed in many ways. The fun thing about him is that each of his feathers has a thankful note on the back for each person at the table to read during dinner.
You’ll need construction paper (we used card stock because it’s a bit more sturdy), paper clips (or clothespins), glue and/or tape, and scissors.

Cut out the turkey’s body into whatever shape you like best – we like to freestyle our crafting over here!

You’ll need a body, 3 triangles (one nose and two feet), 2 eyes, and a red hangy thing (it’s really called a wattle). Glue the pieces onto your body.

I reinforced the turkey’s body with some recycled cardboard since I want my turkey to stand up. If you are cutting the body – you could just use cardboard as your body.

Then I made a turkey stand out of paper clips – just unfold the paper clip and attach one half to the back of the turkey and bend until it’s at the right angle for your size. (use larger paperclips for this if you have it) I taped my paper clips between the construction paper and the cardboard but you could just tape it straight onto the cardboard.


Next I cut a half circle and attached it to the back of the turkey using foam dot adhesive to lift it away from the turkey a bit to make room for the paper clips. You don’t have to use these but when you adhere it to the turkey just make sure you don’t have adhesive close to the top edge where the paper clips are going to go.

The front of our featherless turkey

The next step is to cut out your feathers (we made them thicker at the top to fill out more – like a long triangle but they don’t have to be perfect). And prepare your turkey for the feathers by placing 1/2 of the paperclip onto the semi-circle like this

You can insert your feathers now to check them all out and make sure you have enough.


Throughout the week have your kids write why they are thankful for each other and each person who will be at the table for a special Thanksgiving surprise.

You can also just glue the feathers on and tear them off at Thanksgiving or use clothespins. You could make your turkey to hang on the wall, or make him on the front of a can and just drop feathers into the can. Whatever works for your family and with what you have on hand!
I’ve seen versions of Thanksgiving gratitude projects all over lately but, I have to say, this little guy is my favorite. I just love his modern vibe. I can’t wait to try this one out with the littles. Thanks, Allison!

P.S. If you’re really looking to have the holidays in the bag this year, we’ve got two ways to help. First get the holiday shopping out of the way with all 10 of our 2013 Gift Guides here…

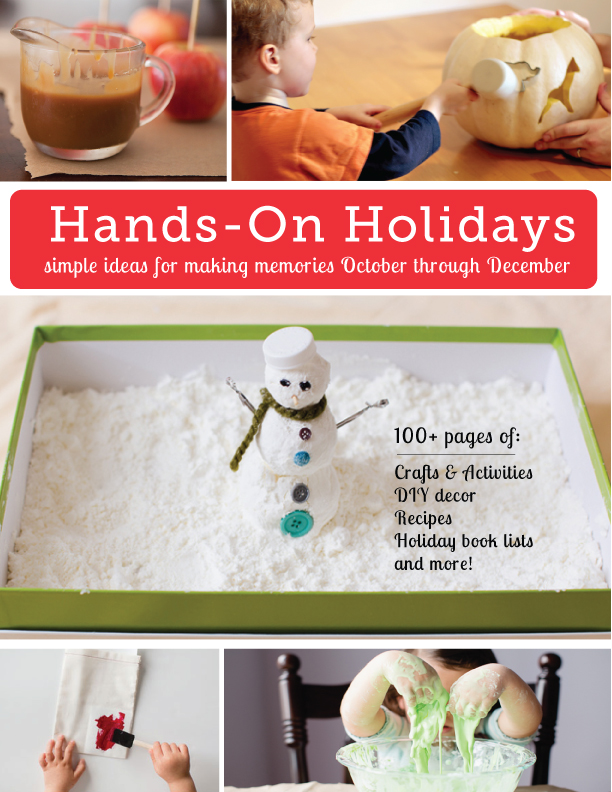
Second, check out our new eBook, Hands-On Holidays, packed with low-prep and low-stress ideas for make memories crafting, cooking, reading and adventuring with the kids!
Get Your Free Printable

Subscribe to our newsletter today and get our free printable... No More, "Mom, I'm Bored!"