
Welcome to Modern Parents Messy Kids, I’m glad you’ve made your way here. Where is here? Modern Parents Messy Kids (or MPMK for short) is the fruition of a seed that was planted in April, 2010. While 7 months pregnant with S, I wrote my very first tutorial (below) and came oh-so-close to becoming a contributor for the mega blog Apartment Therapy. If you’re savvy enough to find my new little corner of the blogosphere, I don’t need to tell you how exciting this was for me.
I didn’t make the final cut but I did beat out 95% of the applicants to the final round. That got me thinking that I might have something worthwhile to share. I hope you agree and find lots of useful information here. For a more complete look at what to expect, check out MPMK’s about page…otherwise, read on for the tutorial that started it all:
Clocking in at just under 4 hours and $45 to complete, this project is practically fool-proof and can easily be customized to fit the decor of any kid space. Options include more alphabet-speckled creatures (perhaps a ladybug or the more exotic harlequin crab), life-sized dolls with paper wardrobes, or trees with foliage that changes with the season. The truly ambitious could even create an entire cityscape populated by magnetic citizens.
Materials:
Projector
Piece of chalk or a pencil
Small paint brush(es)
1 quart of Rust-Oleum Magnetic Latex Primer
1 8 oz. sample can of latex paint
1 paint sample kit with small roller and tray
1 package of 1 3/4” wooden letters
1 roll of adhesive back magnetic strip
Instructions:
- Get Your Image onto the Wall: First look online or in coloring books to find a silhouette appropriate for your project. Try googling terms such as “clip art”, “outline”, or “silhouette”. Next, track down a projector, which was by far the most difficult part of this project. I eventually found a friend who borrowed one from work for a night but local schools or libraries may also have them available for loan. Once you have the projector use it to put your image up onto the wall and trace it. Since my giraffe didn’t have many small details, I was able to outline it in chalk that I later rubbed away. If chalk proves to be too thick to get the detail you’re looking for then try using a light colored pencil (such as white if you’re working on colored walls) because regular pencil can often show through latex paint. This is a problem if you don’t get the primer to all the edges of the image.

- Apply Magnetic Primer: Use the sample kit roller to apply at least 3 thin coats of the magnetic primer, waiting 30 minutes or more between coats to allow them to dry. (I used the recommended 3 coats of primer and my magnets stick fine but a few more coats probably wouldn’t have hurt and I had plenty left over at the end of the project.) The roller will provide the smoothest application of the primer but it is OK to use small paint brushes to cover areas the roller doesn’t fit in. I used a few different brush sizes to get this part done. Also, the magnetic primer does not need to extend fully to the edges of the image as long as you’re OK with those edges not being magnetic.
- Apply Top Coat of Paint: Using the same tools you used to prime, apply as many coats of latex paint as it takes to adequately cover the black primer. I used Lowe’s Zero VOC Olympic Premium Paint in Tangerine and it took about 3 coats.

- Make Magnetic Letters: I found wooden letters at my local craft store for about $4 for the package. There are tons of letter options out there but I liked these because they were inexpensive and big enough not to be a choking hazard for my 18 month old. I bought a roll of adhesive back magnetic strip at the same store and then cut 3 to 4 small pieces of the strip and applied them to the back of each letter.
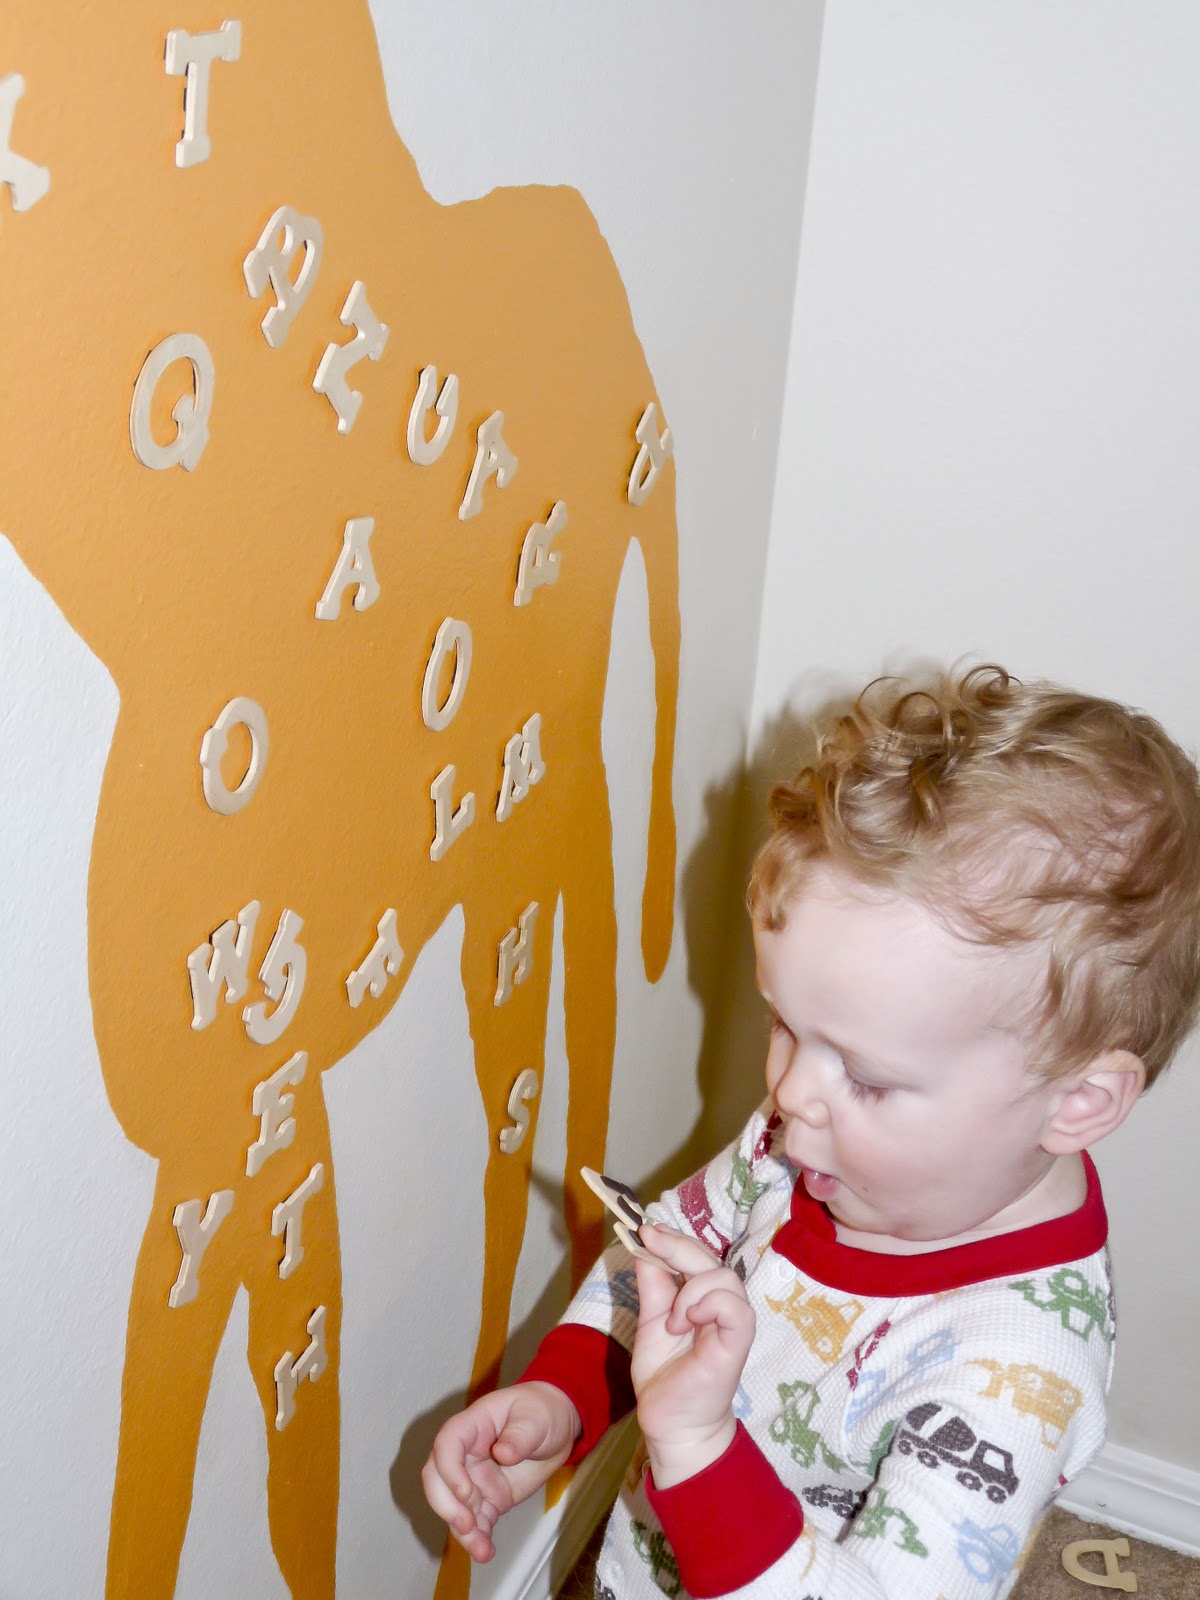
- Show Your Little Ones How it Works: Depending on the age of your children, you can use the letters to practice the ABCs, spell out words, or just as decoration.
Get Your Free Printable

Subscribe to our newsletter today and get our free printable... No More, "Mom, I'm Bored!"